Learning to record and mix your music can be as creative and rewarding as learning to play music itself, if you have the right mindset. And while both music and the production process are guided by creativity, there are basics to recording and mixing that will help you mix better-sounding music if you keep them in mind. From choosing a recording method to mixing and mastering your music, these essential tips will elevate your sound.
Table of Contents:
Maximize your music production with controlled multitrack recording
Home studio recording essentials
Recording and mixing basics
Your home recording rig can be a mobile setup too
Mixing your record: tips for music production
Equip yourself for fun and creative music production
Maximize your music production with controlled multitrack recording
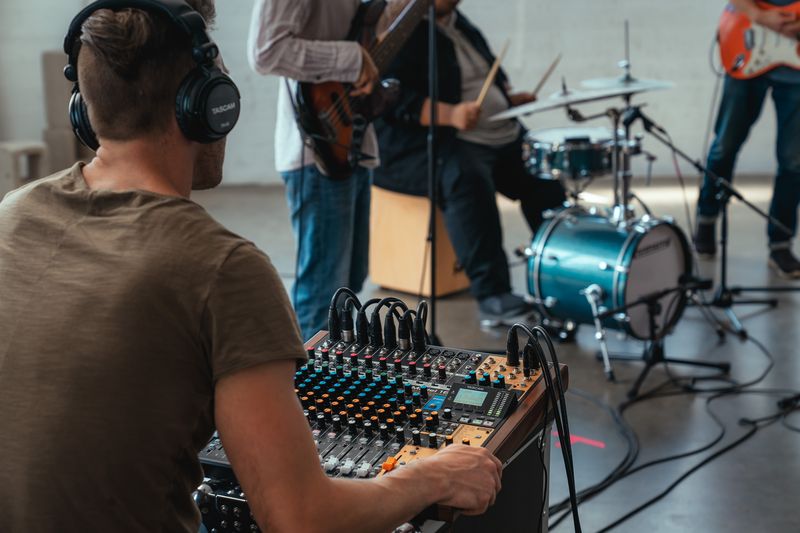
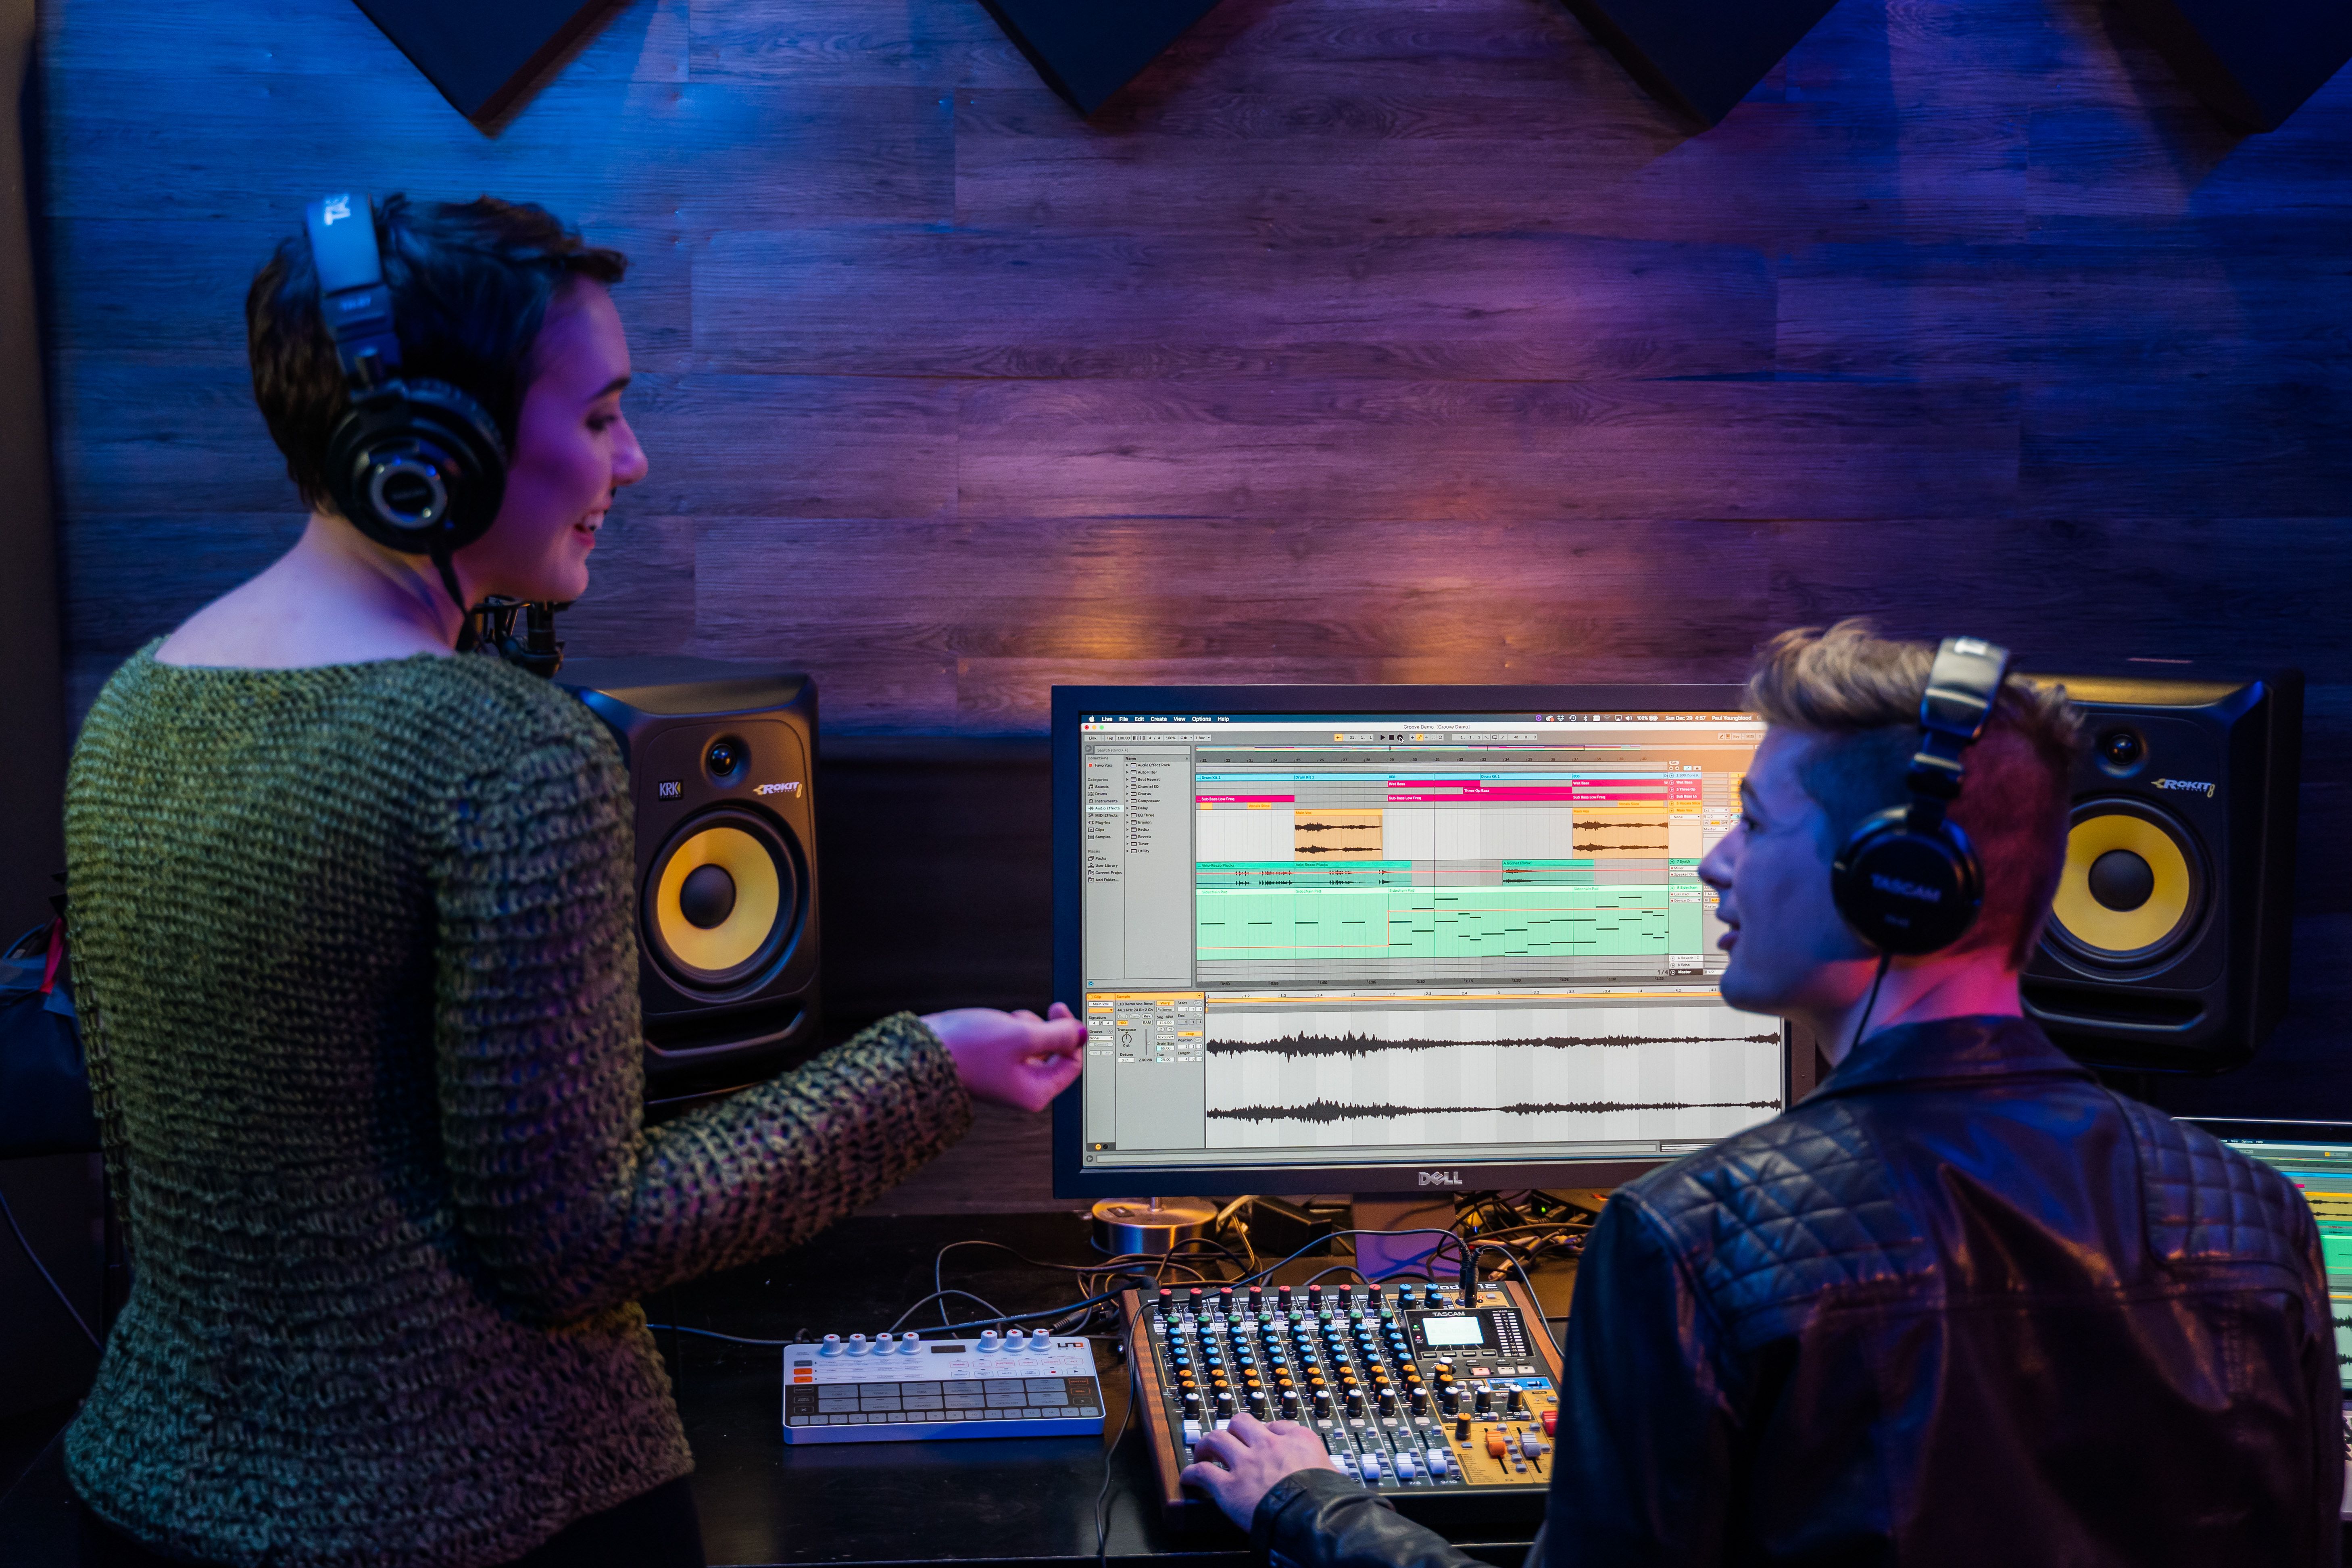
It's easy to use your smartphone or a portable recorder to capture a stereo recording anywhere, but to make the most of your music production you'll want to employ multitrack recording. Multitrack recording is the most basic music production technique for better mixes: with each song element recorded to its own track, you'll have maximum control over your song's final balance when you mix.
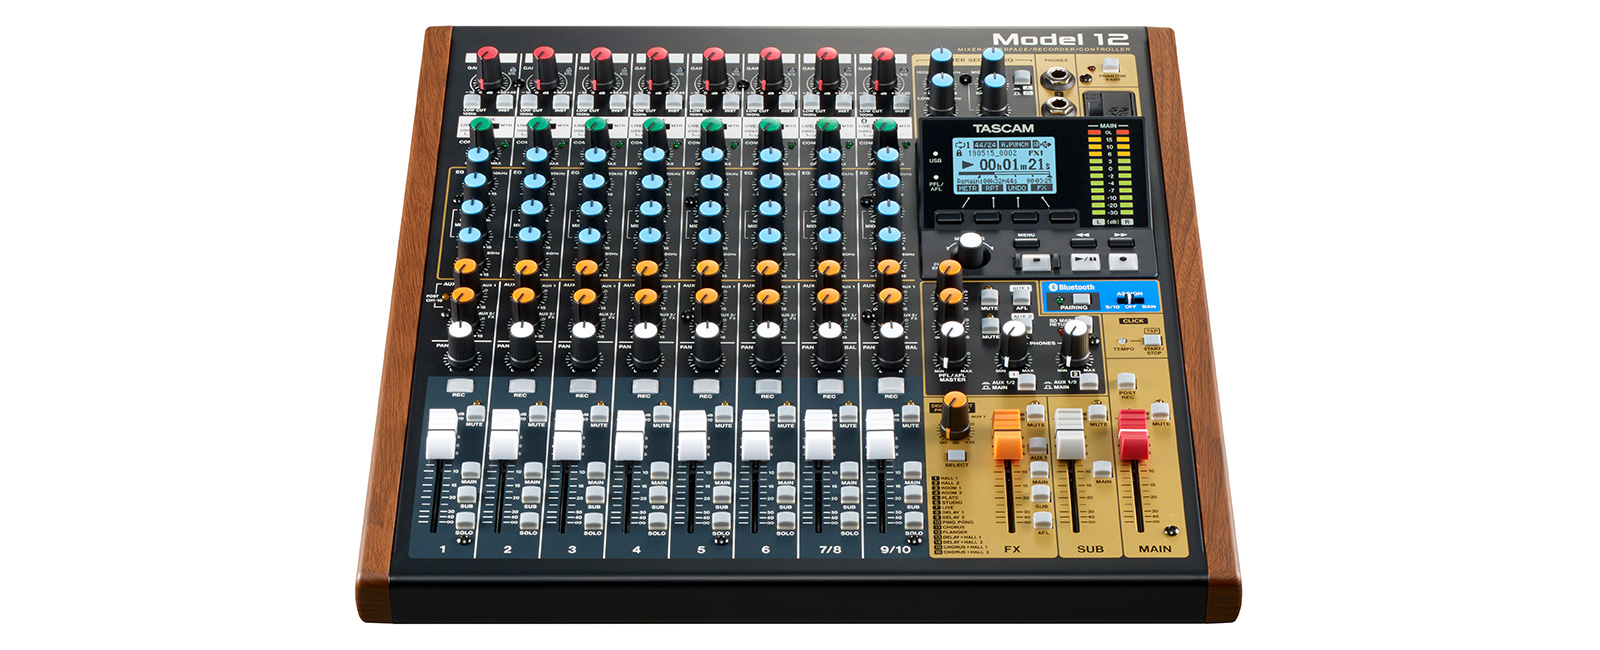
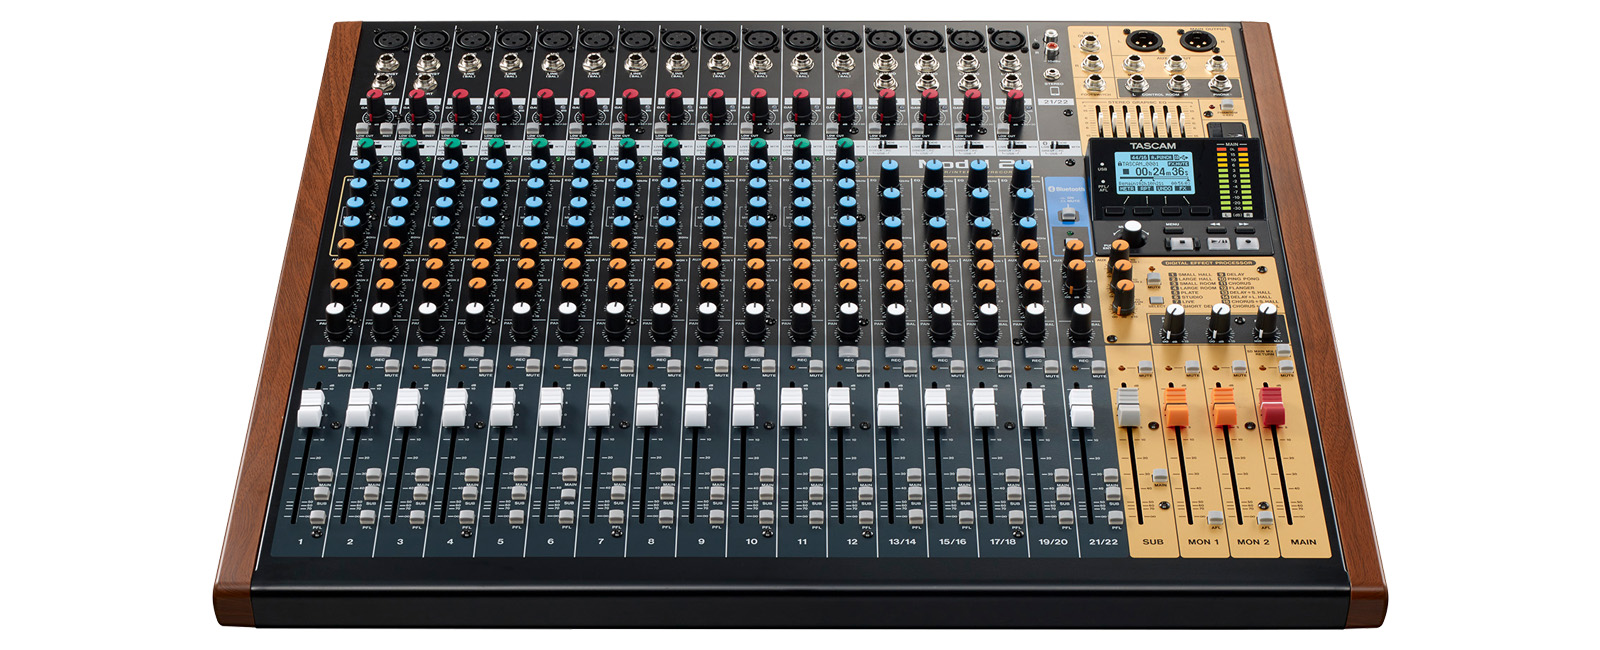
Multitrack recording has been the standard in recording studios for over half a century, and there are modern solutions for multitrack live recording as well. Live recording consoles like the TASCAM Model Series combine comprehensive live mixing with onboard multitrack recording straight to SD card — no computer required. Whether you're recording in your studio or live on stage, multitrack recording will definitely enhance your music production by giving you full creative control during mixing.
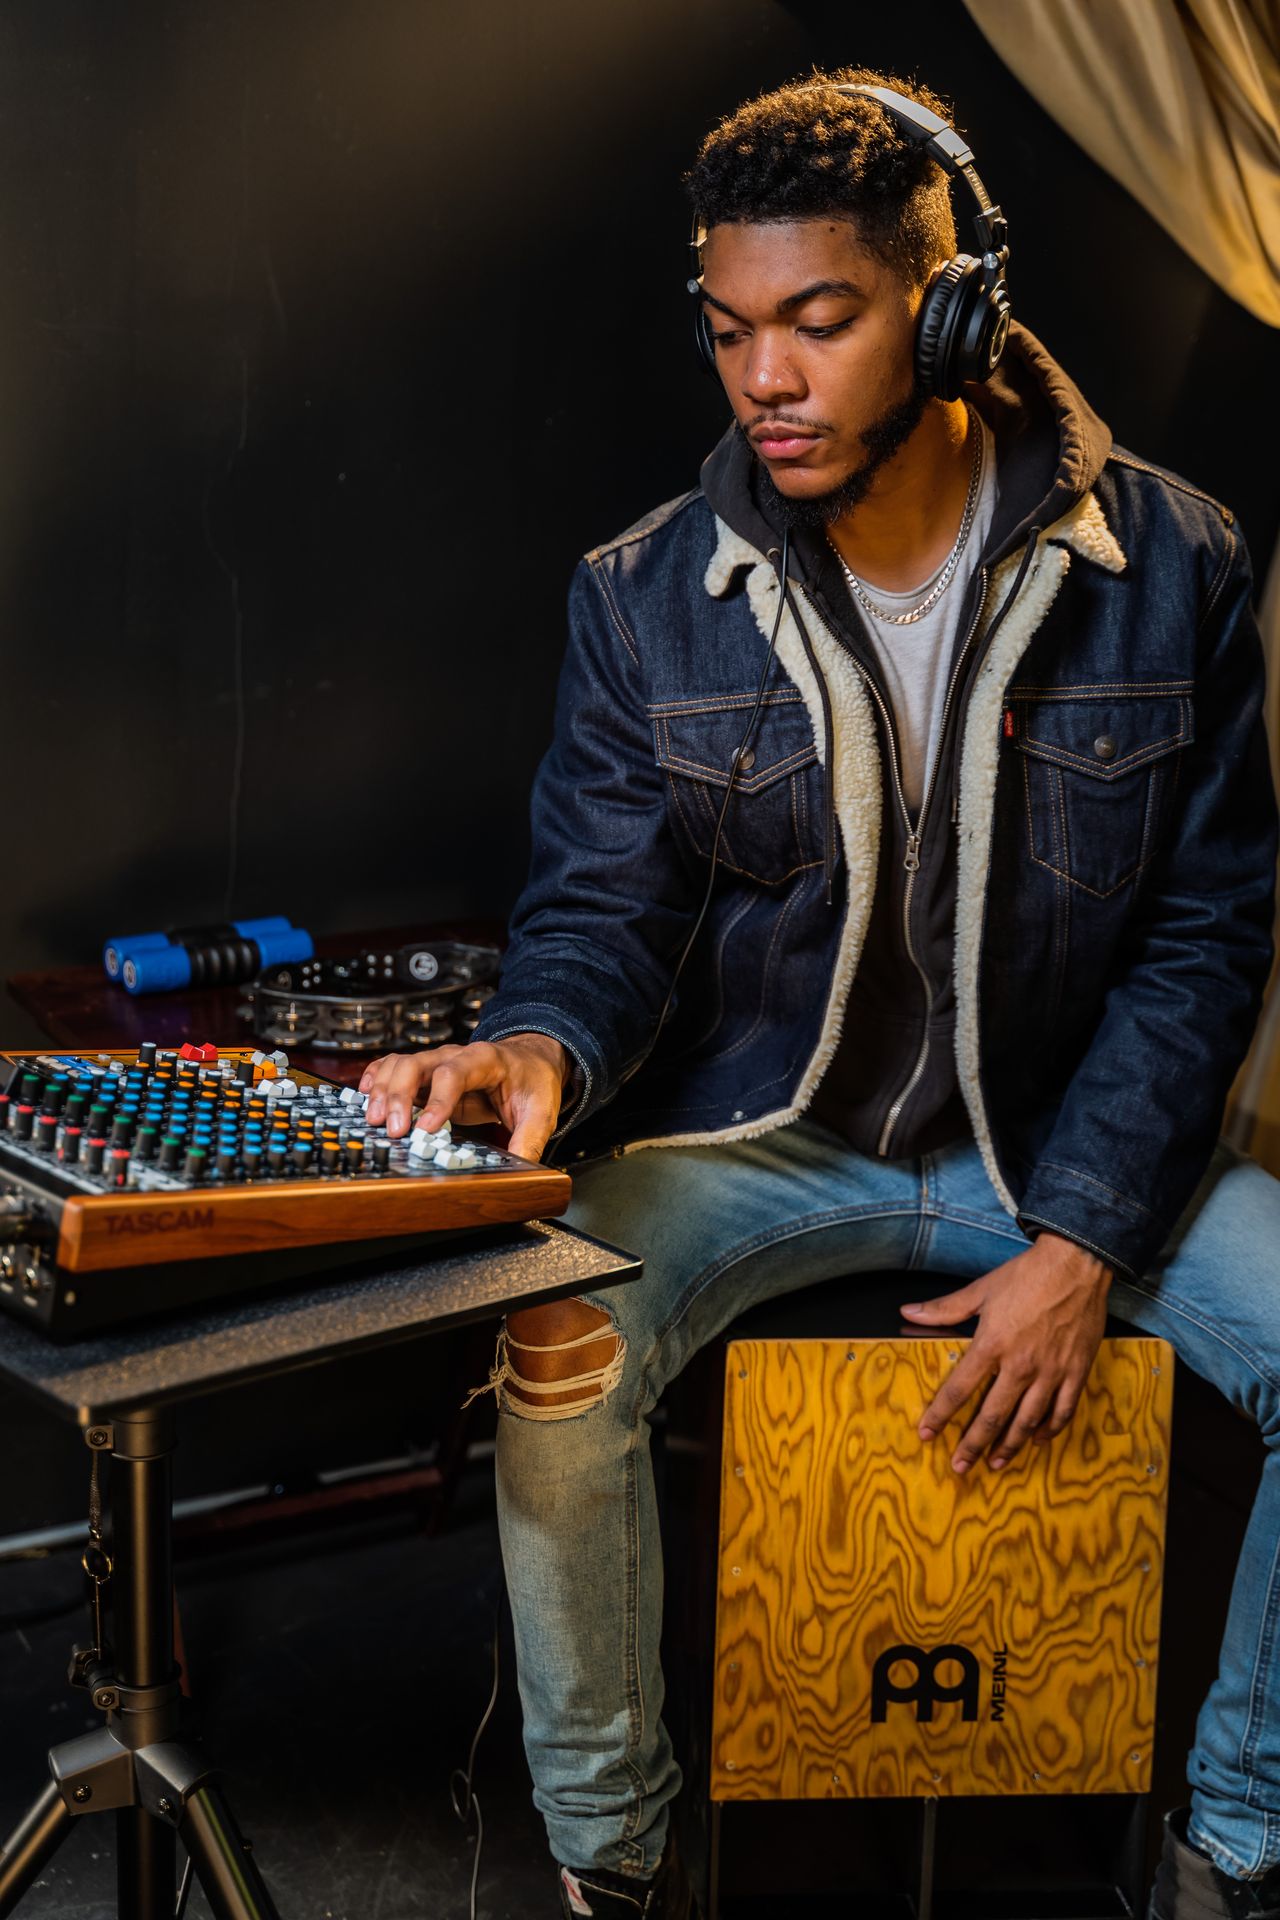
Home studio recording essentials
There are endless variations on DIY recording studio setups, but they're all going to include some of the same essentials.
Computer with DAW software or multitrack recorder
Your choice of whether to record your audio to DAW on your computer or a dedicated recording device is purely your preference. Recording to DAW software with an audio interface will ultimately give you a ton of options during mixing in terms of effects, total track counts, and other things that are nice to have but not ultimately necessary for making good music. Using a dedicated multitrack recorder will give you the classic hands-on experience of working with a recording console, but if you want to get really tweaky during mixing and mastering you may ultimately end up moving tracks to your computer for final processing anyway.
Studio monitor speakers or headphones
When you're recording and mixing your music, you need to be able to hear things as accurately as possible to make good sonic decisions. Consumer-level speakers and headphones typically "hype" the bass and treble frequencies to make them sound "bigger" than their competitors, but that is not what you need when you're recording and mixing. You need a listening system with a flat frequency response and low noise, and that's what studio monitor speakers and headphones are designed for. You don't need to spend thousands to equip yourself with quality speakers or headphones, and your mixes will sound much better for the investment.
Should I use microphones or go direct?
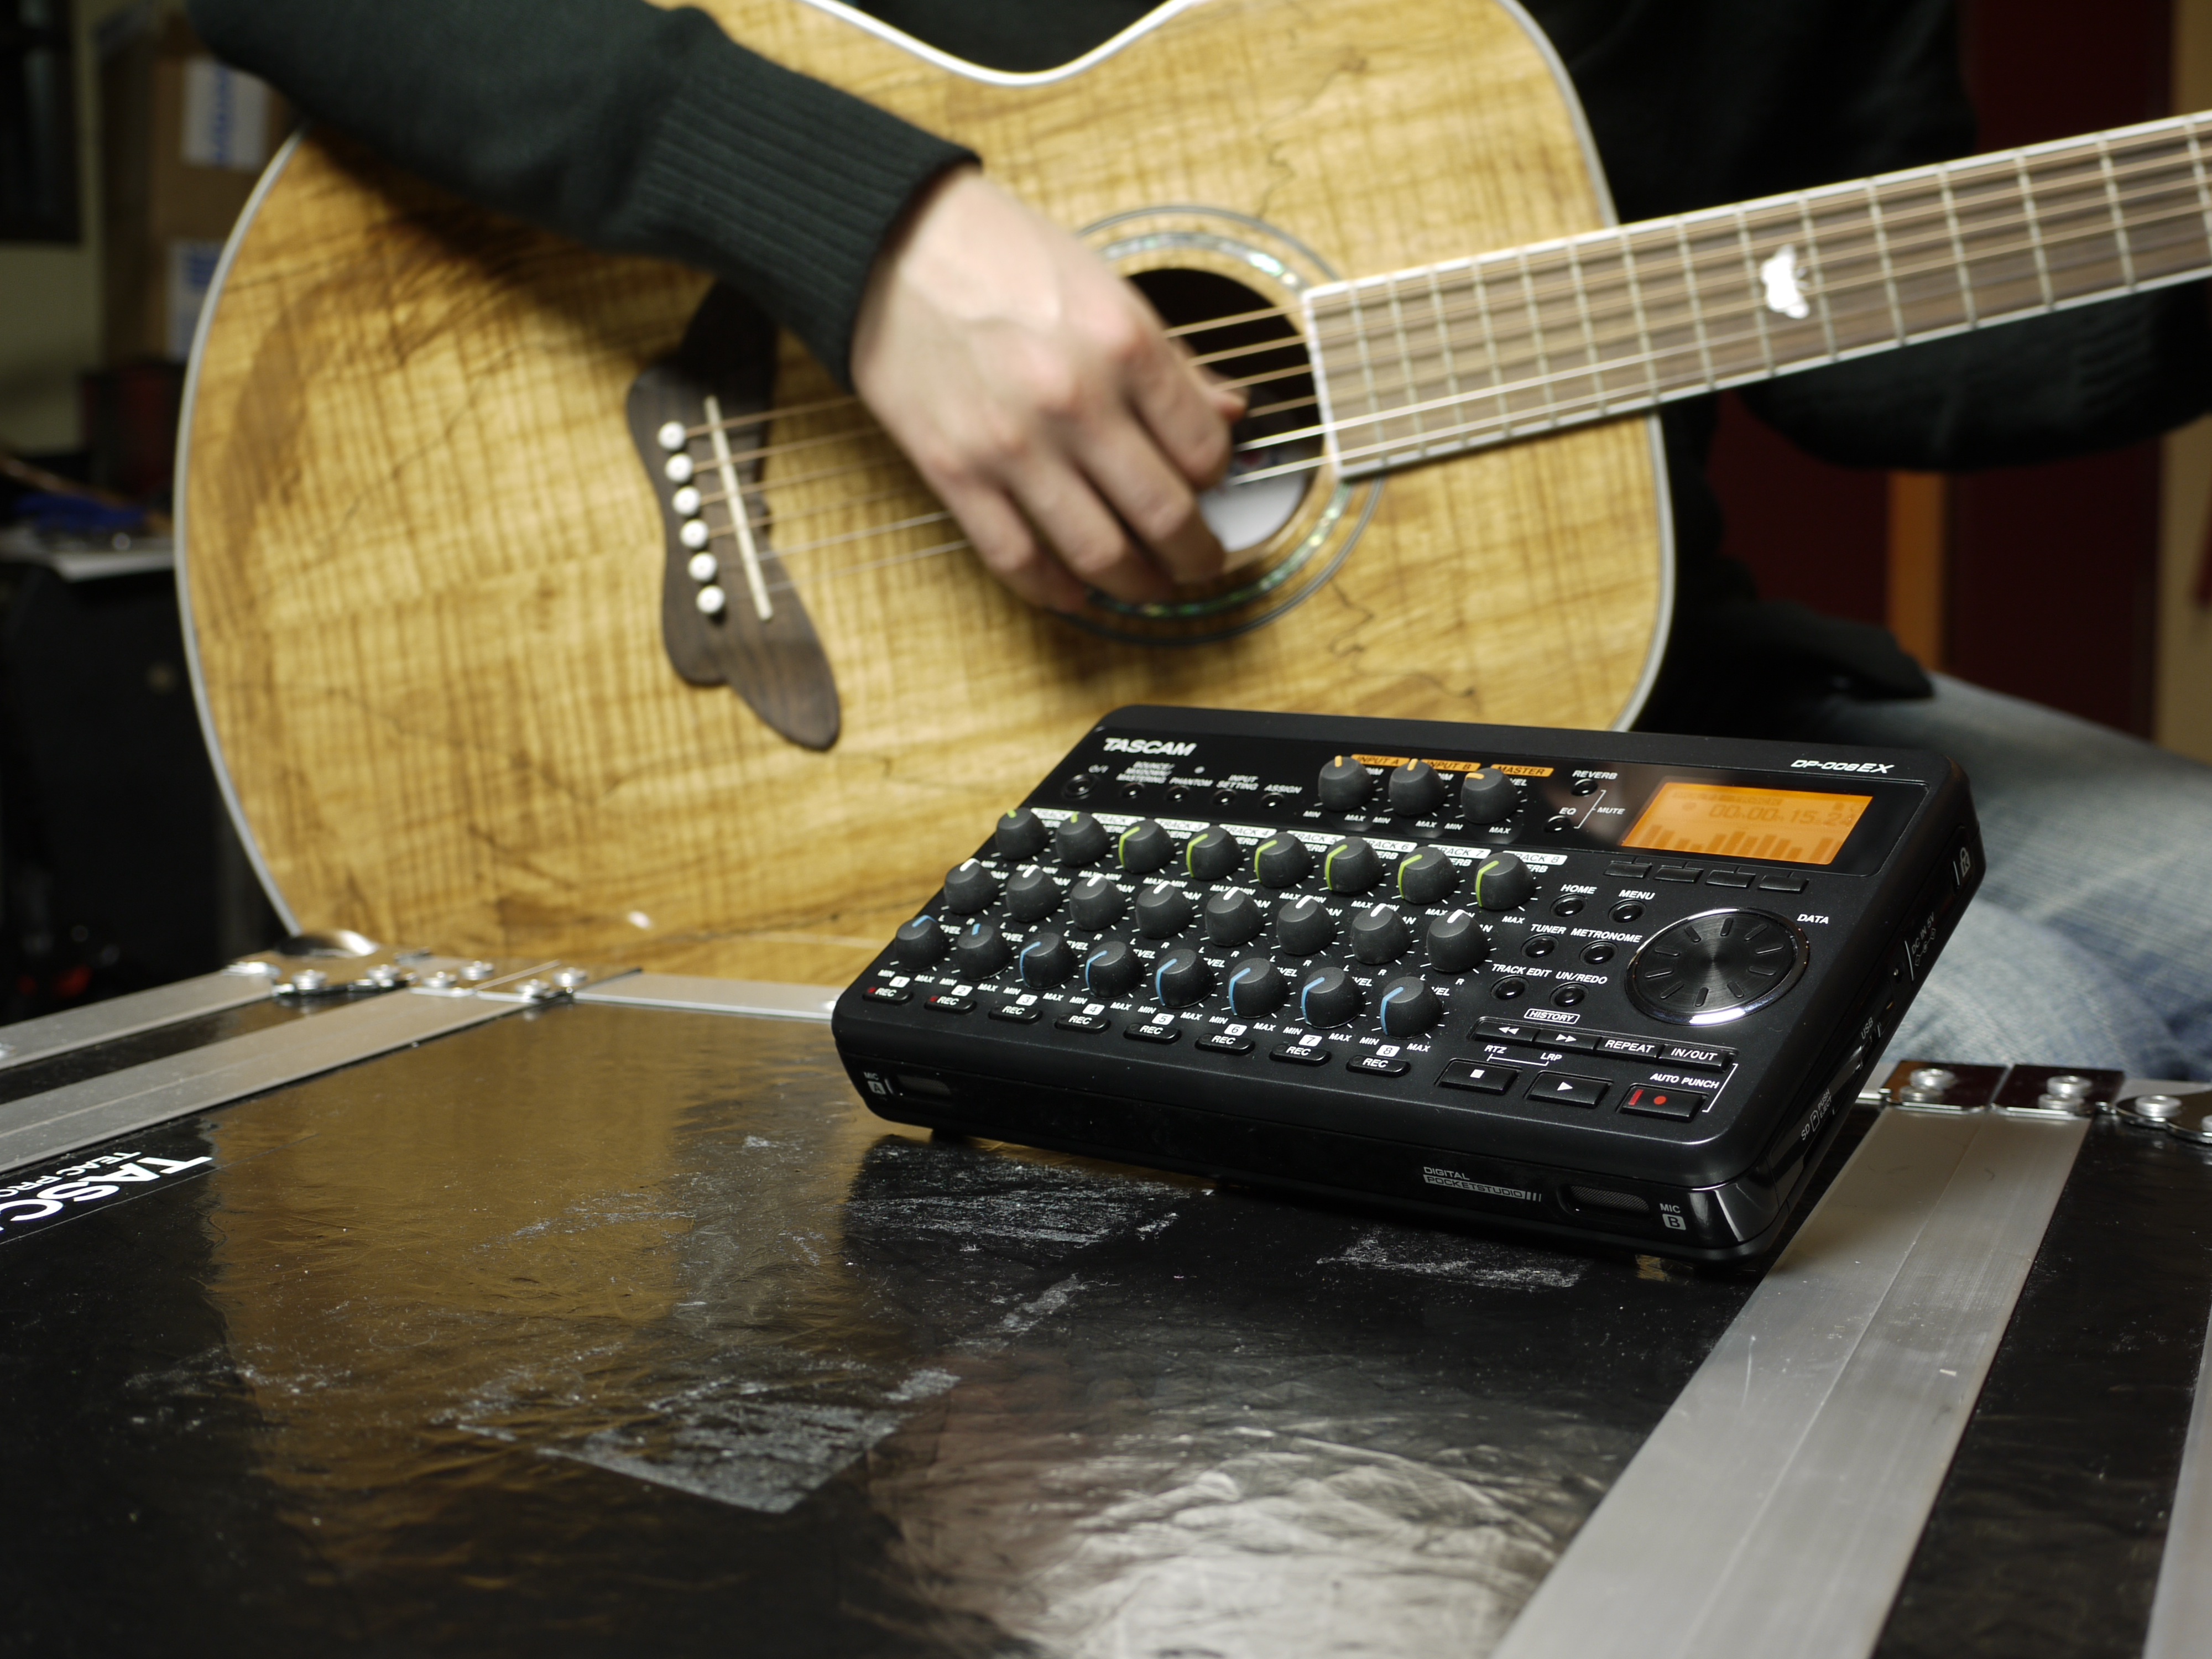
Instruments such as electric guitar, bass, acoustic-electric guitar, and keyboards all have many options to plug directly into your multitrack recorder or audio interface. When you have the option to do so, this saves you the trouble of setting up a microphone and avoiding bleed from outside sounds. This obviously is not a solution for vocalists and acoustic instrumentalists, but by going direct with as many sounds as possible, you'll find you have a much cleaner sound with no unwanted bleed when it's time to mix.
To record acoustic-electric instruments, bass, and keyboards directly without a microphone, all you need is a basic direct box. A direct box (sometimes called a "DI box") allows you to connect these instruments directly to the microphone preamp on your audio interface or multitrack recorder. You don't need to spend a lot, and a lot of music gear like amp modeling pedals feature a built-in direct output — in other words, you may already own a direct box.
Choosing microphones is a complicated topic that is outside the scope of this blog, but there are a couple of things that will serve you well if you remember them. There are countless mics available today, and the vast majority fall into two types: dynamic and condenser. Dynamic mics are more rugged and less sensitive to off-axis sounds, while condenser mics should be handled more carefully and are incredibly sensitive to any sound in the room. This makes condenser mics popular in pro recording studios where the acoustic conditions are controlled — in a typical home studio, a condenser mic may capture more of your room sound than you want. If you haven't invested in any acoustic treatment, you'll probably get better results with a dynamic mic.
Another thing to remember about mics is that their ability to capture sound can be directional (focused in a specific direction), or omnidirectional (picks up sound equally from all directions). If your mic is marketed as a cardioid, supercardioid, hypercardioid, or shotgun microphone, it's a directional mic. For recording music in your home studio, a directional microphone is almost always going to be better, as it will focus on your sound source and pick up less coloration from your room.
Recording and mixing basics
Most veteran recording engineers will tell you that if you record things well, mixing is easier. And no matter what style of music you're recording, you'll be well-prepared if you understand some basic recording and mixing fundamentals.
Proper gain staging is crucial to a great-sounding production
Gain staging is the process of optimizing your signal levels at every link in your signal chain. This sounds more complicated than it really is: all you need to do is identify every place in your signal chain where you have control over the signal volume, and set levels accordingly. So, what is "accordingly"? Let's use an acoustic-electric guitar as an example.
Imagine an acoustic-electric guitar plugged into an acoustic preamp pedal, which is then connected to your audio interface for direct recording. The instrument itself will have a volume control — set it so that you are getting a strong signal, but not so loud that you hear noticeable noise from the electronics. The acoustic preamp pedal will have an output level control — again you want to set this so that you're getting robust signal level, but not so much that you're adding noise or distortion. And at your audio interface, the input level control should ideally be at "unity gain" — neither increasing signal level or reducing it. In other words, ideal gain staging means you get the optimal signal level at the source, and only make minor adjustments so the signal level throughout the chain when necessary.
Should I record with compression, EQ, and effects?
It's no secret that tools such as compression, EQ, and effects like reverb are some of the most fundamental tools for shaping great-sounding recordings. But should you leave these tools for the mixing stage, or should you actually record your audio with them? There are no rules, but there are some basic tips you can keep in mind that your mixes will benefit from.
Be cautious with compression when recording
Compression is a powerful sonic tool that helps you control overall signal levels and volume, but it's practically impossible to undo once you've over-compressed a signal. Unless you're recording an extremely dynamic sound source, you'll probably be better off waiting until the mix stage to experiment with the right amount of compression. Likely candidates for recording with a bit of compression are snare drums, electric bass, and vocals. But as long as you're following proper gain staging, with no risk of signal clipping, you don't really need to compress while recording.
Use EQ during recording as a subtractive problem solver
Does your guitar tone sound a bit too beefy for its rhythm role? Go ahead and use a low-shelving EQ to dial back the bass a bit before you record. Is your vocalist spiky in the upper mids? Dial back a couple of decibels around 3kHz — it's OK. And most instruments that aren't a bass instrument or drums will benefit from a low-cut filter around 80Hz. As long as you're only cutting a few decibels, your mixes will sound better if you remove some unnecessary frequencies while recording. Save additive EQ for mixing, to add the final enhancement to your recorded tracks.
Leave reverb for the mix stage
Even if your lead vocal calls for a big reverb sound, you're limiting your options greatly if you record them that way. During mixing you will need to optimize dynamics with compression, finalize the sonic balance with EQ, and likely other processes to optimize your sound — you don't want all of those processes effecting the reverb tail too. Save effects like reverb and delay for the mixing stage, and you'll be very glad you did.
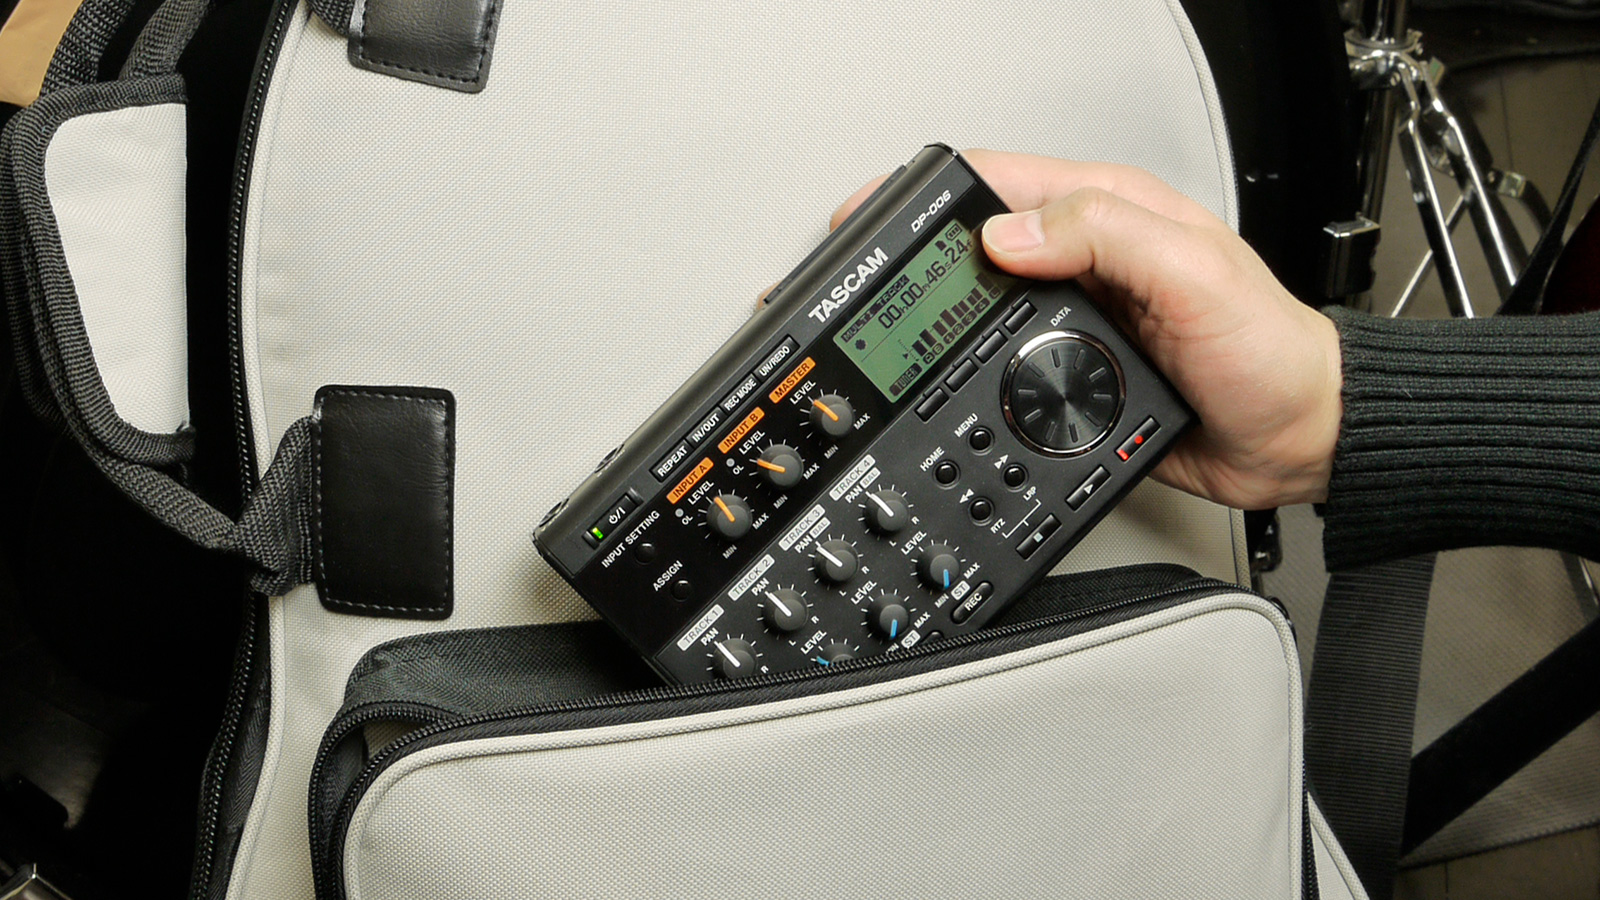
Your home recording rig can be a mobile setup too
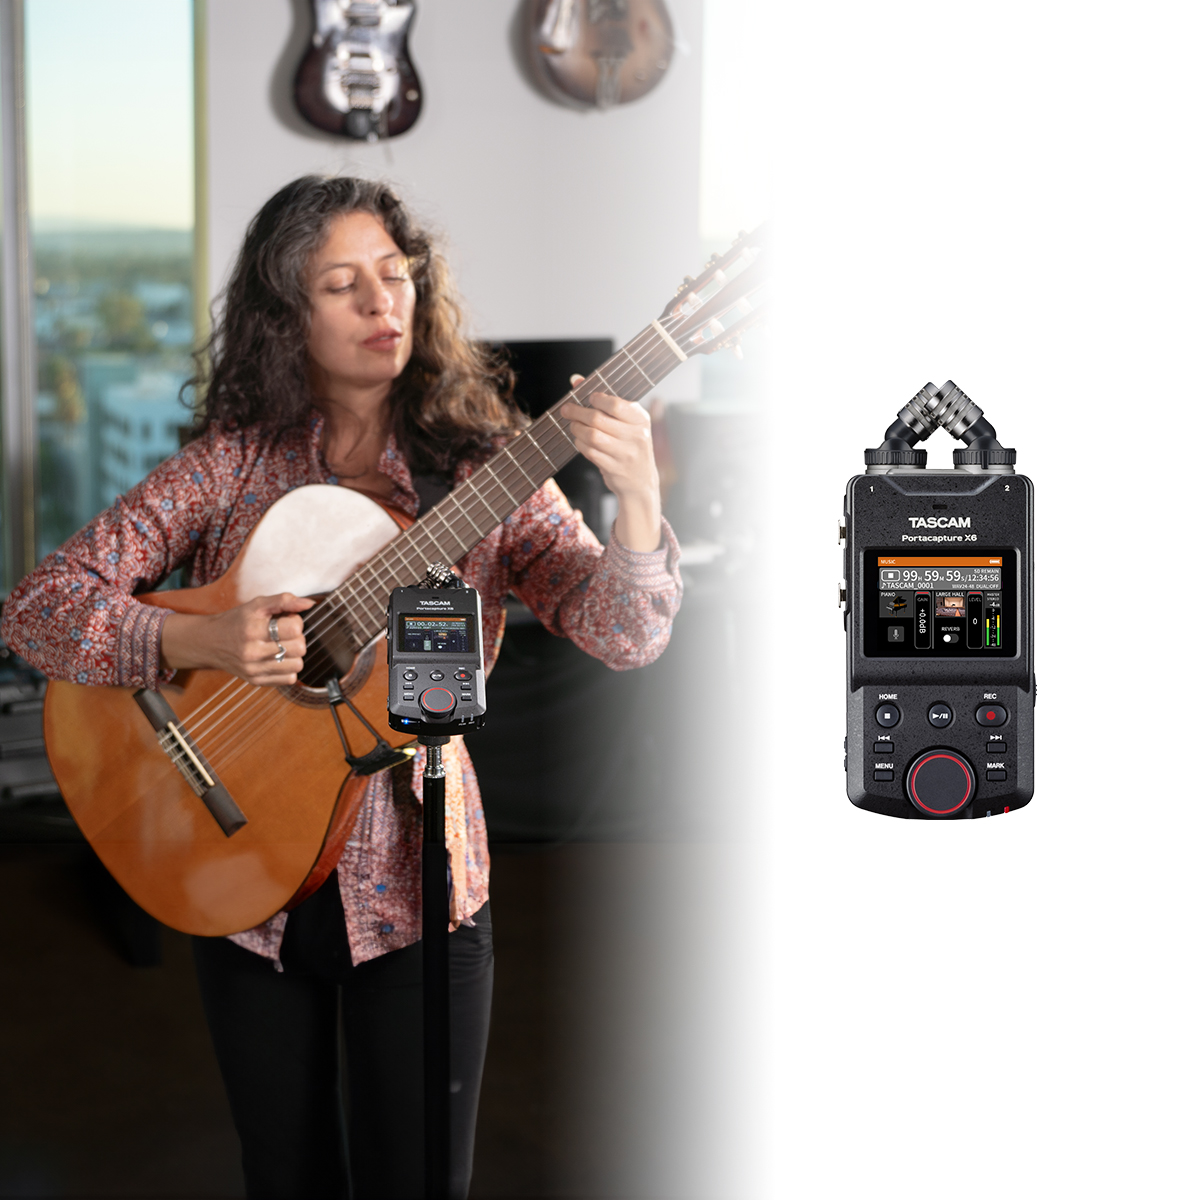
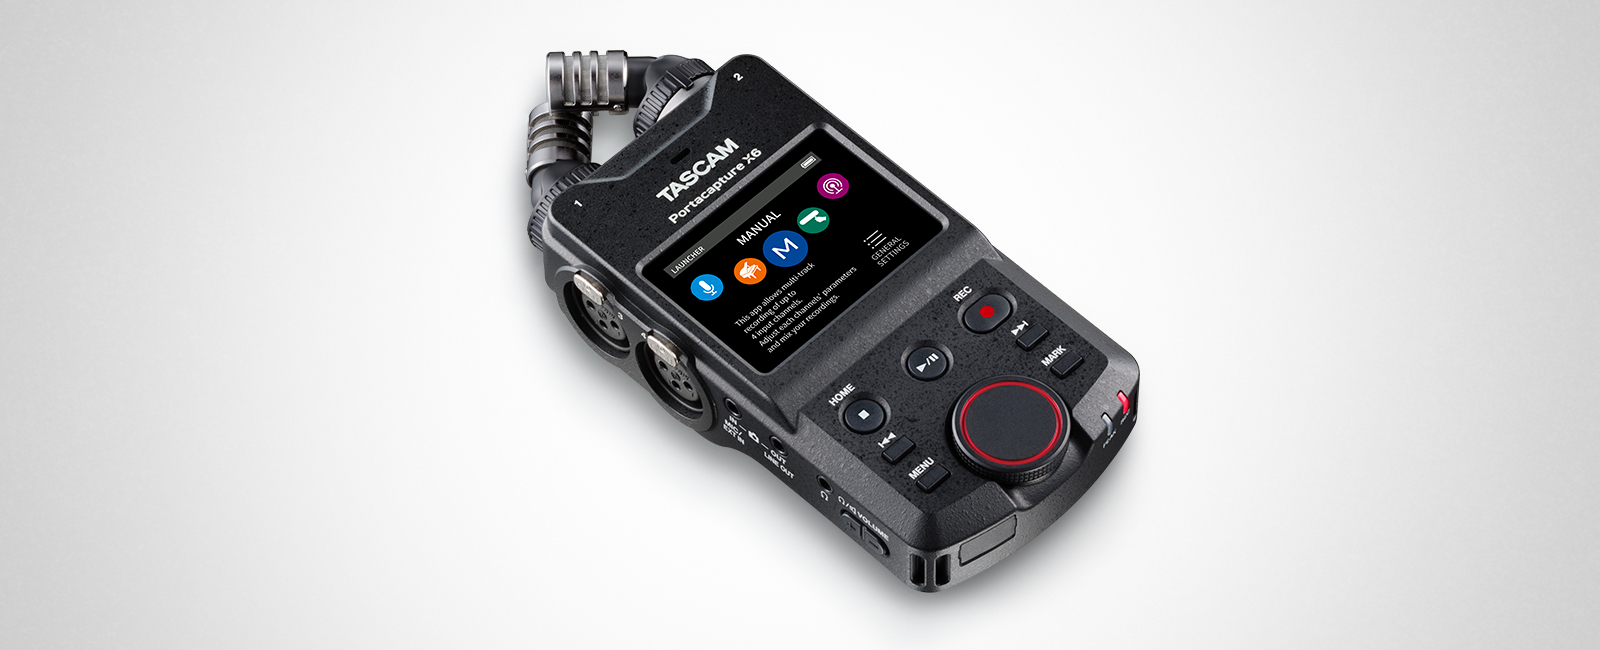
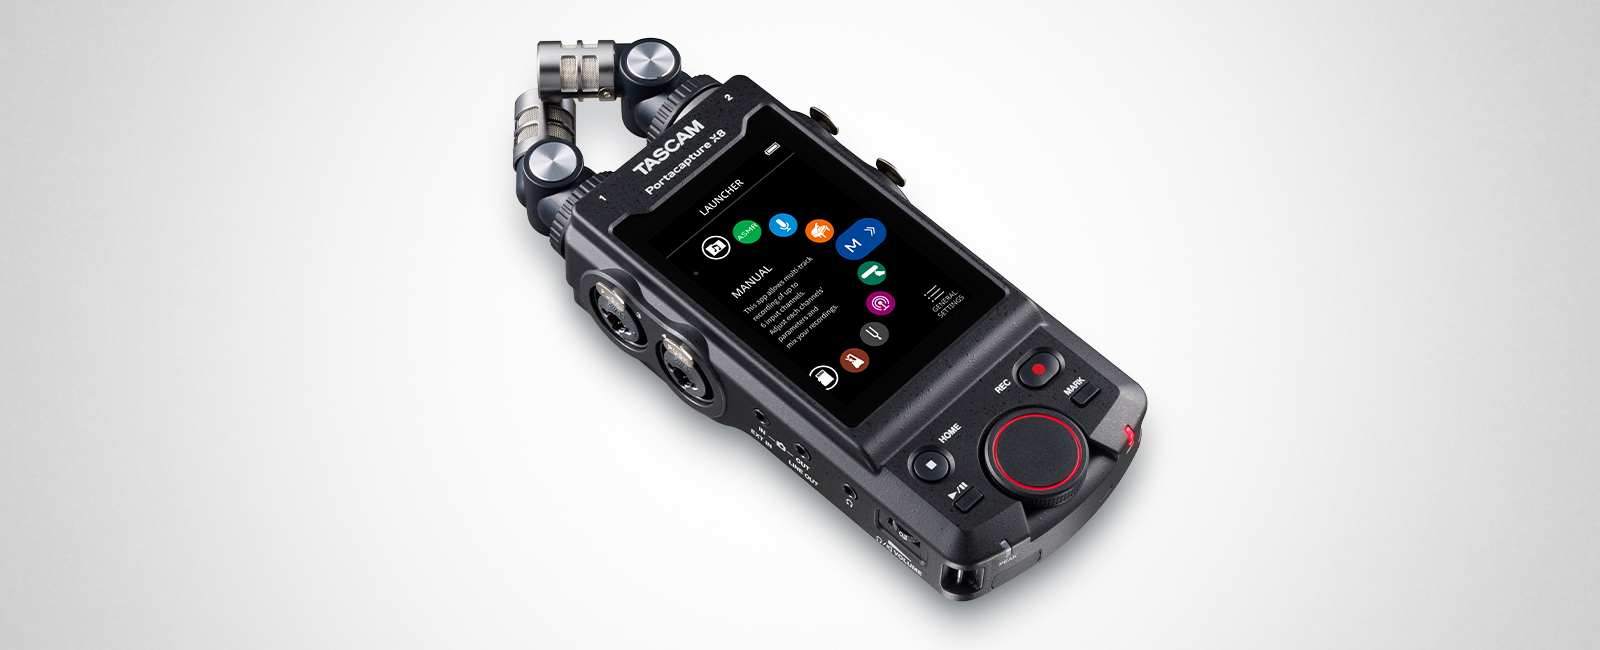
Whether you prefer to record your music to DAW software on your computer, or use a dedicated multitrack recorder, you don't need to be tethered to your home studio. For example, pro-quality portable recorders like the TASCAM Portacapture Series combine go-anywhere convenience with the ability to serve as a multichannel audio interface in your studio. Onboard stereo condenser mics allow you to record studio-quality audio anywhere you go, while inputs for external microphones and instruments allow for true multitracking capability. And you can record to onboard storage, or to your DAW software via USB.
Your multitrack recorder can also be a comprehensive mobile recording solution, with a recording console like TASCAM Model Series mixers. You have the capabilities of a live sound mixer combined with onboard recording and USB recording — you could mix live sound while also capturing a pro-quality multitrack recording, while greatly minimizing the amount of gear you need to do so.
Mixing your record: tips for music production
Stay organized
If you're recording to DAW software, you don't want to start your mix session with dozens of audio files named "Audio #". When possible, name your inputs before you record so that file names reflect whatever you've recorded. Yes, you can do this later when you begin mixing, and believe us when we say you will not want to.
Less is more when it comes to processing
Equalization generally sounds best in small doses, and can sound unnatural when boosting or cutting more than a few decibels at a time. Compression can make things sound big, bold, and controlled, but too much compression begins to make things sound smaller and less exciting. And many veteran mix engineers will try to use as little reverb as possible — aim for the level where you don't really hear it in the mix, but you hear the difference when you mute the reverb. Basically, aim for subtle polishing instead of drastic changes, and your music production will benefit greatly.
Learning to balance your mix
Is the bass too loud? Do my vocals sound too up-front? What is a ukulele really supposed to sound like on an album? When you reach a certain point in your mix, questions like these can seriously disrupt your production process if you are new to balancing your mix. And because every recording project and mix is different, you need to learn to balance a mix on its own terms — here is how you do that.
Regardless of what type of music you're producing, you need to identify three things to balance your mix (we'll use a typical rock band as an example). These are:
1) the most important bass content: in a rock mix this would be the bass drum and bass guitar working together
2) the most important rhythmic element: in a rock mix this would be the snare drum
3) the highlight of the mix, or the focal point: in a rock mix this would be the vocals
How do we know if our rock mix is balanced? It's simple — turn down the volume on your speakers or headphones (don't adjust the master mix fader). Turn the volume down as you're listening to your mix until you can barely hear it: if you can still identify your three focal points clearly, you're already on your way towards a well-balanced mix.
If you hear one of these mix elements disappear while you can hear the others, that's a sign that your overall mix balance is off. To hear what we mean, listen to a professionally-produced song you know well, and slowly turn down the volume: just before it becomes inaudible, you will still hear the three core elements of the mix (weight, rhythm, and focal point) in relative balance. Aim for that, and your mixes will benefit.
Automation should not be obvious
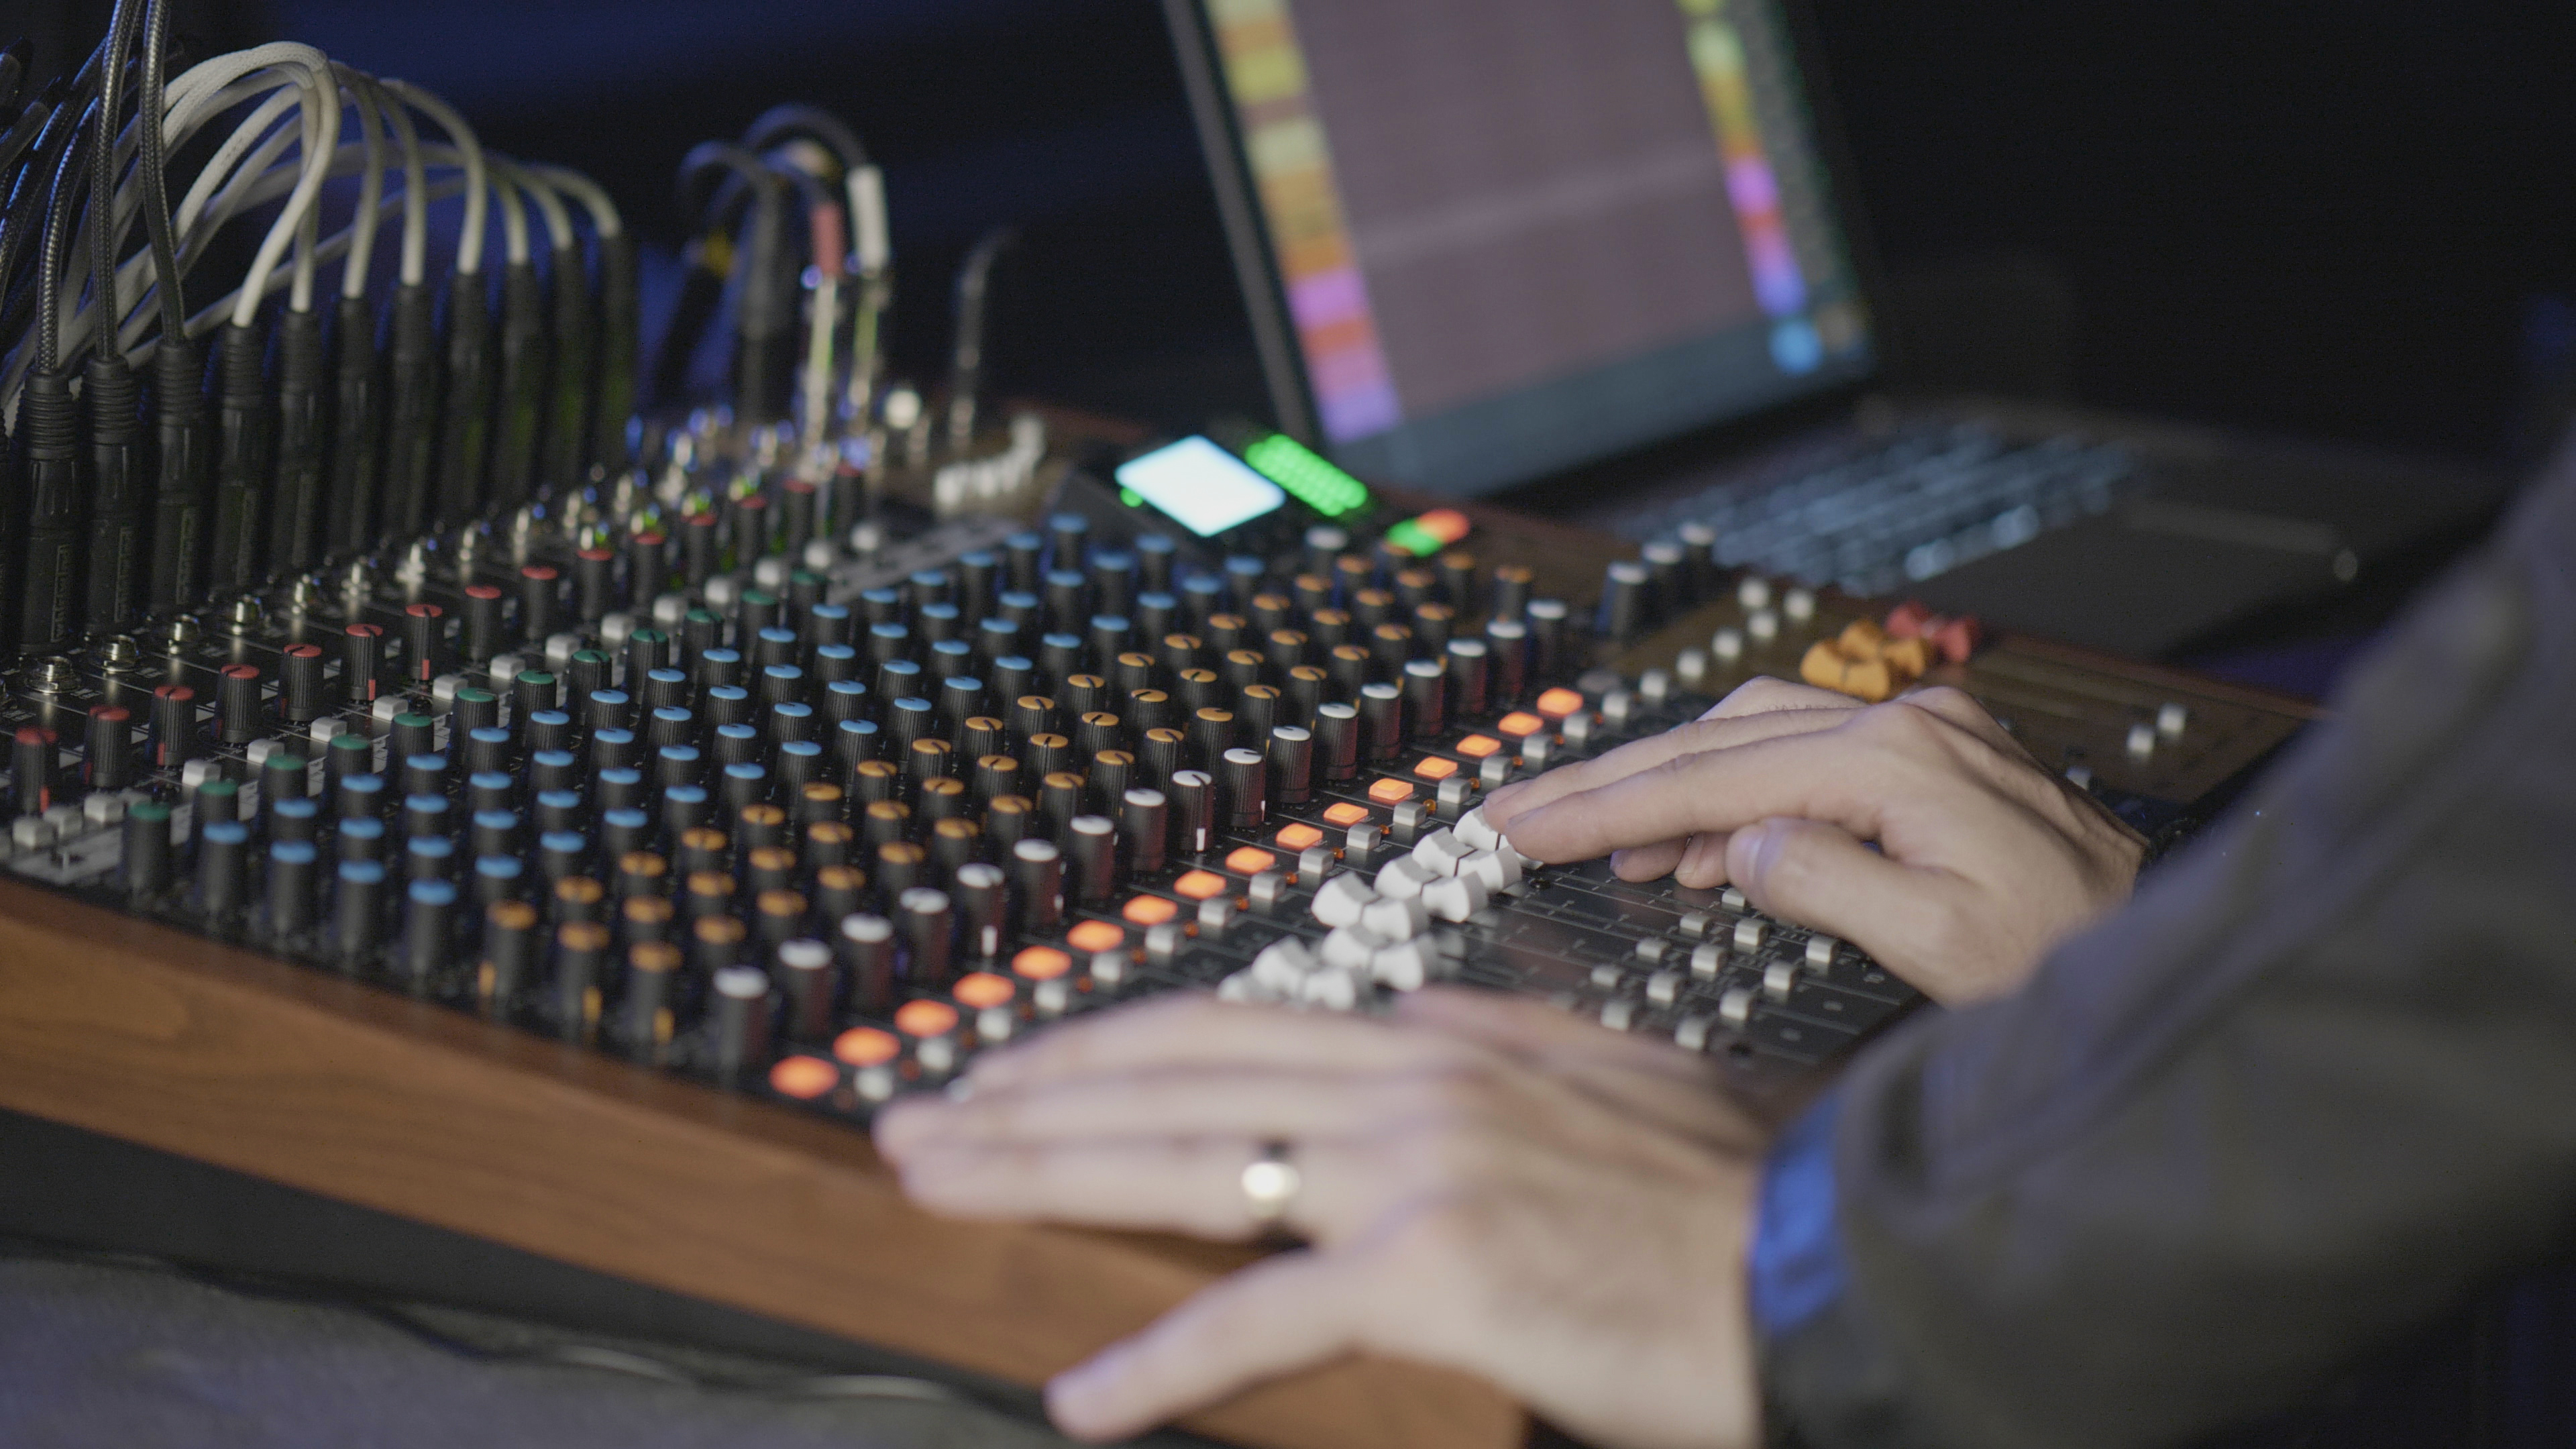
Most people would not believe how much fader automation professional vocals are subject to, because that's not what you hear on a professional album — you hear a steady, focused vocal track without obvious volume changes. That's what you should go for whether you're automating vocal levels or sweeping a filter for a transition effect — what you're doing with automation should serve the song, not distract the listener with an abrupt change in sonics (unless that's your specific goal).
While automation in DAW software is one of the most powerful tools you'll have when mixing, it's easier to achieve natural-sounding results when you use your hands instead of a mouse. Some audio interfaces like the TASCAM Model Series previously mentioned can be used for hands-on automation control with your DAW software, using real faders instead of your mouse. By adjusting faders in real time in response to what you're hearing, you'll arrive at your ideal result faster than you would by drawing and re-drawing automation curves with your mouse.
Equip yourself for fun and creative music production
There are a million more things we could discuss when it comes to recording and mixing music, but it's all too easy to get overwhelmed with the endless ways you could approach this creative pursuit. Music might not always be intended to be fun, but it is always a creative process, and the less technical stuff you have to deal with the better. In our examples we've highlighted how TASCAM Model Series mixers and Portacapture Series portable recorders can simplify your process and eliminate the need for extra gear. How you choose to design your own DIY recording setup is up to you — and if you keep things as simple and versatile as possible, you'll be setting yourself up for success. So take these tips for music production to heart, and we're sure your next music production project will sound better than ever.
Related Products:
Model 24
https://tascam.com/us/product/model_24/
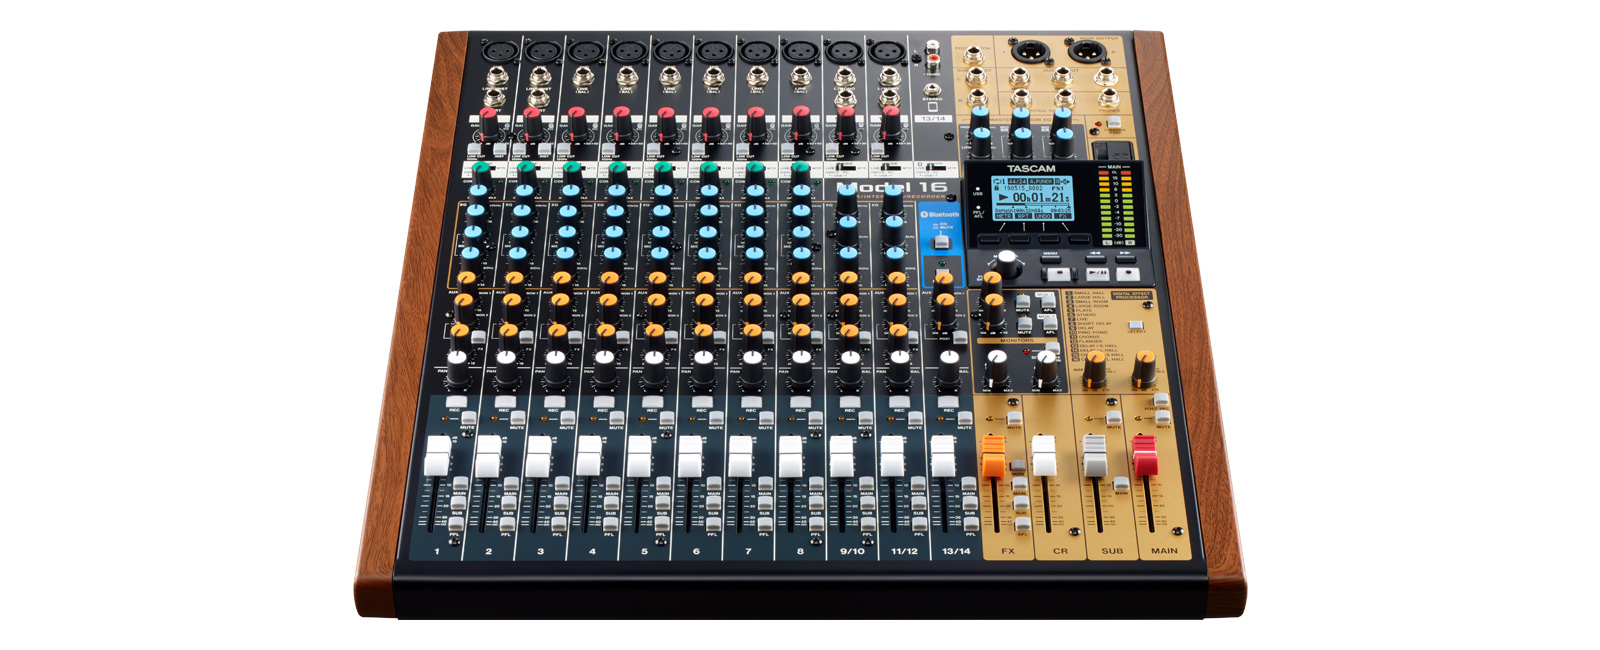
Model 16
https://tascam.com/us/product/model_16/
Model 12
https://tascam.com/us/product/model_12/
Portacapture X8
https://tascam.com/us/product/portacapture_x8/
Portacapture X6
https://tascam.com/us/product/portacapture_x6/


|
Model 12 |
|
Model 16 |
|
Model 24 |
|
Portacapture X6 |
|
Portacapture X8 |